Keeping Your Hearing Aids Working Well: A Simple Cleaning Guide
Your hearing aids are sophisticated devices that work hard to help you hear better. Just like eyeglasses need regular cleaning to provide clear vision, hearing aids need routine care to perform their best and last longer. Earwax, moisture, and debris can clog microphone ports, receivers (speakers), and vents, leading to distorted sound, reduced volume, or even causing the device to stop working.
Fortunately, cleaning your hearing aids doesn’t have to be complicated. Establishing a simple daily and weekly routine can make a big difference. This guide from Elderly Care First provides easy-to-follow steps for seniors and caregivers on how to safely clean common types of hearing aids.
Note: Always refer to the specific instructions provided by your hearing aid manufacturer or audiologist, as cleaning methods can vary slightly depending on the model.
Why is Cleaning Hearing Aids So Important?
Regular cleaning helps to:
- Ensure Clear Sound Quality: Prevents earwax and debris from blocking sound pathways.
- Extend Device Lifespan: Reduces the risk of damage from moisture and buildup.
- Prevent Repairs: Keeping ports clear can prevent issues that might require professional servicing.
- Maintain Hygiene: Reduces the chance of ear irritation or infection.
What You’ll Need (Basic Cleaning Kit)
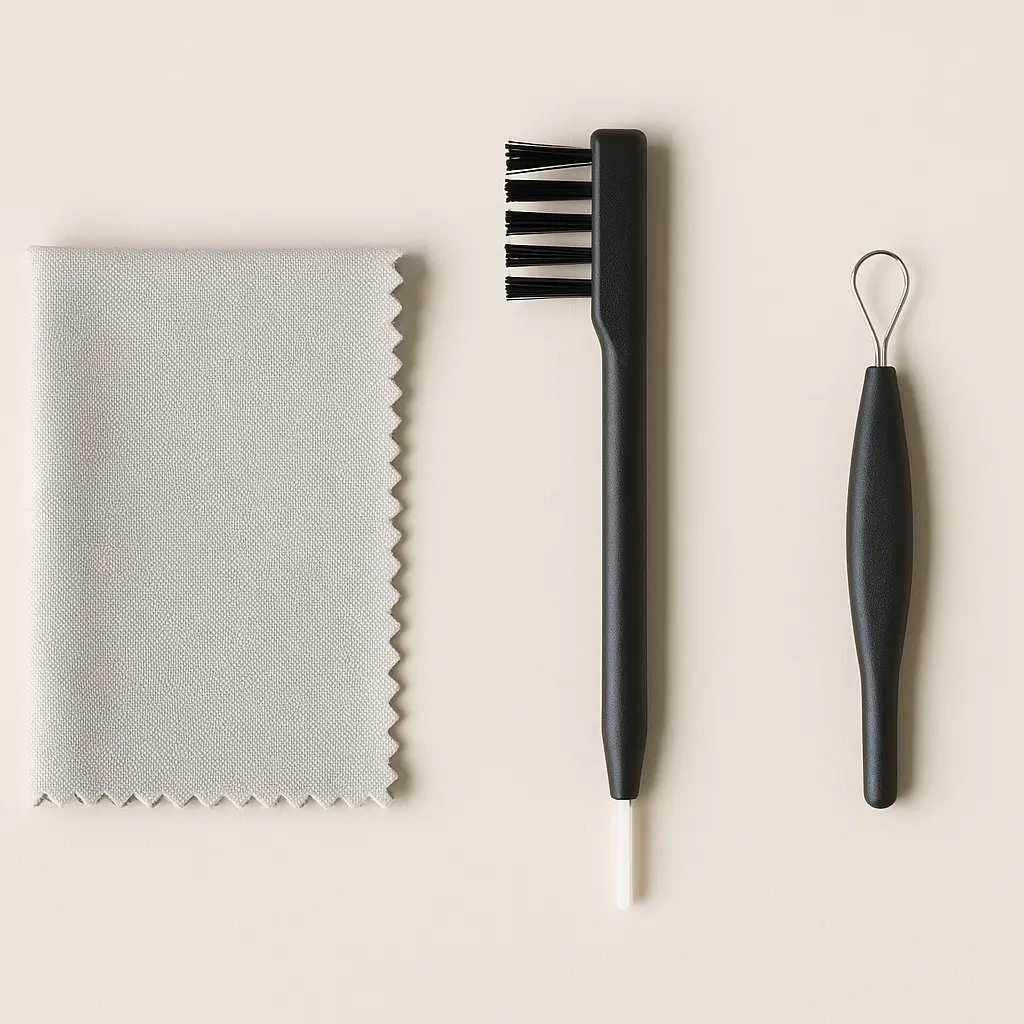
Most hearing aids come with a basic cleaning kit, or you can purchase one separately. Typically, you’ll need:
- Soft, Dry Cloth: Microfiber cloths work well.
- Hearing Aid Brush: Often has soft bristles on one end.
- Wax Pick / Wire Loop: A small tool for gently removing wax from openings.
- (Optional) Hearing Aid Drying Kit/Dehumidifier: Especially useful if you live in a humid climate or perspire heavily.
Recommended Solution
Daily Cleaning Routine (Takes Just a Minute!)
Make this a quick habit, perhaps before storing your hearing aids for the night:
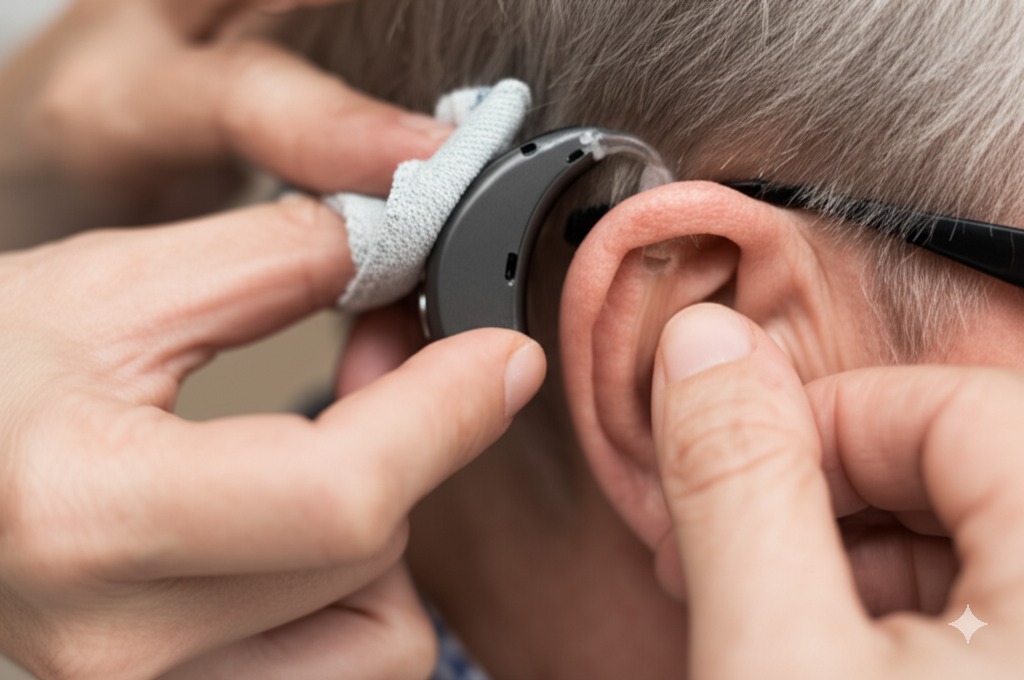
- Wipe Down the Hearing Aid: Use the soft, dry cloth to gently wipe the entire surface of the hearing aid(s). This removes surface oils, moisture, and debris.
- Brush Microphone Ports: Gently brush over the small openings where sound enters the hearing aid (microphone ports). Use the soft brush from your kit. Be gentle to avoid pushing debris inside.
Weekly Deeper Clean (Check for Wax)
Once a week, take a few extra minutes for a slightly deeper clean:
- Inspect Openings: Carefully examine all openings on your hearing aids – the receiver/sound outlet (where sound comes out), microphone ports, and any vent openings (tiny holes that allow airflow).
- Remove Visible Wax:
- For Behind-the-Ear (BTE) with Earmold: Gently use the wax pick or wire loop to remove any visible wax from the opening of the earmold (the part that goes in your ear). Wipe the earmold clean. If the tubing connecting the earmold to the hearing aid looks discolored or brittle, contact your hearing professional. Detachable earmolds can sometimes be washed separately (ask your provider!).
- For Receiver-in-Canal (RIC) / Receiver-in-the-Ear (RITE): These have a small dome or custom tip covering the receiver in the ear canal. Gently brush the dome/tip. Check the wax guard (a tiny white filter under the dome/tip) – if it looks clogged, replace it following the manufacturer’s instructions (usually involves a small tool provided).
- For In-the-Ear (ITE) / In-the-Canal (ITC) / Completely-in-Canal (CIC): Use the wax pick/loop to carefully remove wax from the sound outlet opening and any vent openings. Gently brush the microphone ports. Check and replace the wax guard if it appears clogged.
- Brush Thoroughly: Use the soft brush to gently clean the entire hearing aid body again, paying attention to seams and buttons.
What NOT to Do When Cleaning
- NEVER Use Water or Liquids: Unless specifically instructed otherwise for detachable earmolds, do not use water, alcohol, cleaning solvents, or oils on the main hearing aid body. Electronics and moisture don’t mix!
- Don’t Poke Too Deep: Be gentle with the wax pick/loop. Don’t poke forcefully into openings, especially microphone ports or receivers, as you could damage sensitive components.
- Avoid Hairspray/Cosmetics: Apply hairspray, lotions, makeup, etc., before putting your hearing aids in, as these products can clog the devices.
Storing Your Hearing Aids Properly
- Open the Battery Door: If your hearing aids use disposable batteries, open the battery door slightly overnight. This helps conserve battery life and allows air to circulate, reducing moisture buildup. (Not applicable to rechargeable models).
- Use a Drying Kit (Optional but Recommended): Place your hearing aids (with battery doors open, if applicable) in a drying kit or electronic dehumidifier overnight. This removes accumulated moisture, which is a common cause of malfunction. Recommended Solution
- Keep in a Safe, Dry Place: Store them in their case away from direct sunlight, heat, moisture, pets, and small children.
When to Seek Professional Cleaning or Service
Even with regular care, your hearing aids may occasionally need professional attention. Contact your audiologist or hearing aid provider if:
- You notice a decrease in sound quality or volume despite cleaning.
- You frequently need to replace wax guards.
- You see visible damage to the hearing aid casing, tubing, or earmold.
- The hearing aid stops working.
- You are uncomfortable or unable to perform the cleaning yourself.
Your provider has specialized tools (like vacuum systems) to perform a deeper clean and can check for any needed repairs.
Conclusion: A Little Care Goes a Long Way
Taking just a few minutes each day and week to clean your hearing aids is a simple investment that pays off in better performance, fewer repairs, and longer device life. Follow these steps, refer to your manufacturer’s guide, and don’t hesitate to ask your hearing healthcare professional for guidance. Consistent care helps ensure your hearing aids continue to connect you clearly to the sounds of life.
Elderly Care First hopes this guide makes hearing aid maintenance simple and routine!